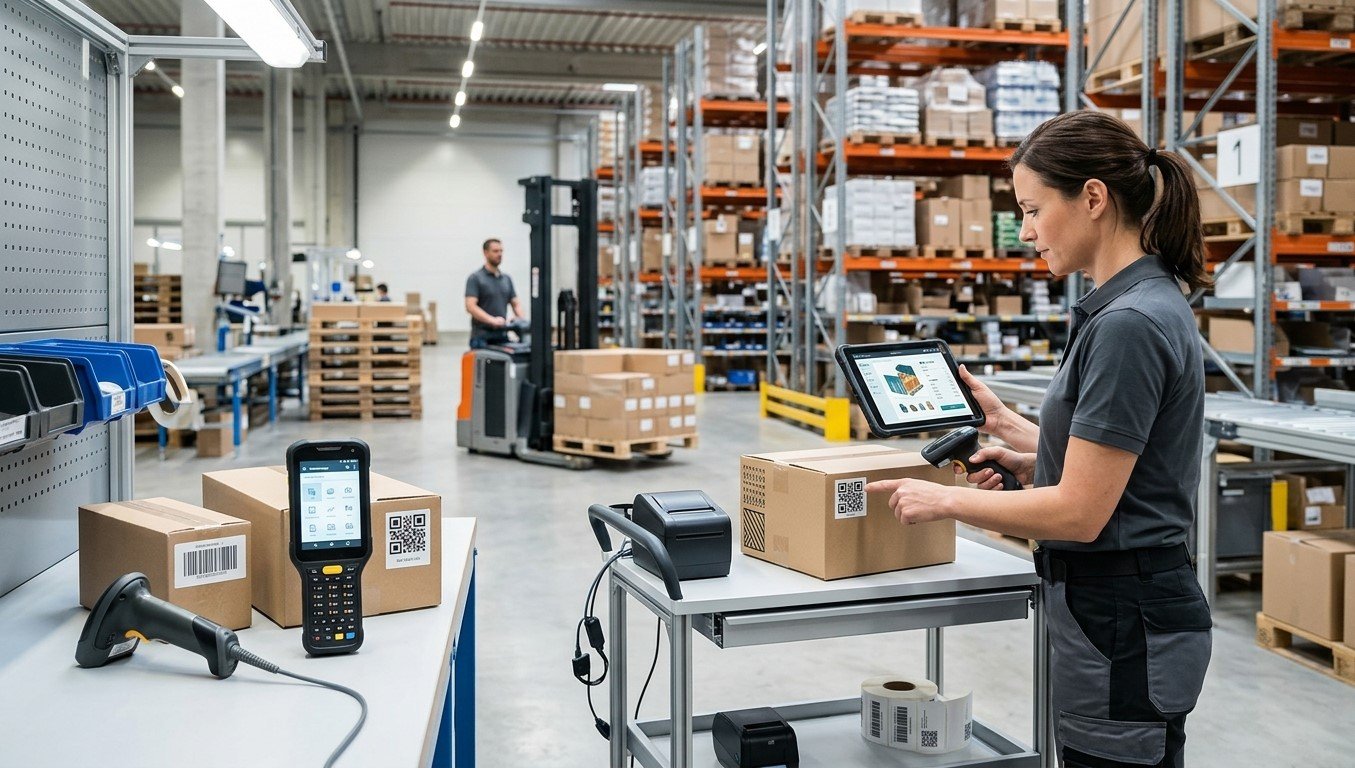
Barcode labels help businesses identify products, track inventory, manage shipments, and maintain accurate records. However, as operations grow or business requirements change, companies may need to switch to a new barcode label format. This change could involve using a different barcode type, adjusting label dimensions, updating encoded information, or redesigning the label layout. Although a new format may improve efficiency, switching without proper planning can lead to scanning errors, printing issues, inventory discrepancies, and compatibility problems. Businesses can reduce these risks by evaluating their current systems, testing new labels, and preparing employees before implementation. Pointus Solutions helps businesses explore barcode technology and identification solutions, while Shop Barcode and its range of Printing Products can support businesses reviewing their barcode labeling requirements. Table of Contents Why Do Businesses Change Barcode Label Formats? Check Compatibility with Existing Systems Review Barcode Size and Label Materials Test the New Format Before Implementation Update Software and Train Employees Frequently Asked Questions Conclusion and Call to Action 1. Why Do Businesses Change Barcode Label Formats? Businesses may switch barcode label formats for several reasons: Changing business requirements: New products or packaging may require different label dimensions. Improved scanning performance: A revised design may improve readability and reduce scanning failures. Industry requirements: Retailers, suppliers, or logistics partners may require specific barcode standards. Better product tracking: A different barcode format may support serial numbers, batch numbers, or additional data. Printing efficiency: Standardized label sizes and layouts may reduce waste and simplify production. Before making a change, identify the problem the new format is intended to solve. This helps businesses choose a suitable solution instead of making unnecessary adjustments. 2. Check Compatibility with Existing Systems One of the most important considerations is whether the new barcode format works with existing business technology. Scanner Compatibility Not every scanner supports every barcode type. For example, some laser scanners can read many linear barcodes but cannot read two-dimensional formats such as QR Codes or Data Matrix codes. Confirm that scanners, mobile computers, and fixed scanning equipment can read the proposed format. Software and Database Compatibility Check whether inventory systems, warehouse management software, and point-of-sale applications can interpret the new barcode data correctly. If the encoded identifier changes, ensure that the corresponding product records are updated or mapped appropriately. Otherwise, scanning a label may return incorrect information or no record at all. Industry Standards Businesses supplying products to retailers or logistics partners should confirm that the new format meets relevant customer specifications and industry standards before printing new labels. 3. Review Barcode Size and Label Materials A barcode format change may affect label dimensions, placement, and printing requirements. Choose the Right Label Dimensions Ensure that the barcode has sufficient space, appropriate dimensions, and the required clear area around it. Avoid shrinking barcode artwork excessively to fit existing packaging. Check Label Material and Adhesive Consider whether the new label will be applied to cardboard, plastic, metal, or curved packaging. The material and adhesive should suit the product’s surface and operating environment. Confirm Printer Compatibility Review printer resolution, supported media dimensions, print settings, and ribbon requirements where applicable. Testing helps identify problems such as blurred bars, smudging, or misalignment. Businesses exploring Shop Barcode and other Printing Products should prioritize compatibility with their existing equipment and labeling conditions. 4. Test the New Format Before Implementation Avoid replacing every existing label immediately. A controlled pilot test can reveal issues before they affect daily operations. Follow these steps: Print sample labels using the proposed format. Apply them to actual products and packaging. Scan them with the equipment used in daily operations. Confirm that the correct information appears in connected software. Test labels under normal handling, storage, and transportation conditions. Correct any problems before expanding the rollout. For applications with formal quality requirements, use a barcode verifier to assess print quality against the applicable standard. 5. Update Software and Train Employees A successful transition requires more than changing the printed label. Update barcode templates, product records, printing software, and relevant operating procedures. If the new format changes product identifiers, establish a clear process for managing old and new codes during the transition. Train employees to recognize the new labels, scan them correctly, and report errors. Where products with old labels remain in circulation, determine how both formats will be handled and when the old format can be retired. Maintain a record of the change, including the implementation date, affected products, testing results, and responsible personnel. This makes troubleshooting easier and supports consistent processes across locations. 6. Frequently Asked Questions 1. Why would a business need a new barcode label format? Businesses may need a new format because of changing packaging, scanning requirements, customer specifications, industry standards, or improved tracking needs. 2. Will a new barcode format require new scanners? Not always. Existing scanners may support the new format, but compatibility should be confirmed before implementation. Two-dimensional barcodes may require imaging scanners if current equipment supports only linear barcodes. 3. Can businesses use old and new barcode formats together? Yes, during a transition, provided the scanning equipment and software can handle both formats and the identifiers are managed correctly. 4. How can businesses prevent scanning problems after switching? Test sample labels on real products, verify software compatibility, check print quality, and train employees before rolling out the new format. 5. Should businesses replace all existing labels immediately? Not necessarily. A phased rollout may be safer, especially when products with existing labels remain in warehouses or distribution channels. 7. Conclusion and Call to Action Switching to a new barcode label format can help businesses improve scanning performance, support changing product requirements, and streamline labeling operations. However, success depends on careful planning, system compatibility, label testing, and employee training. Before making the change, assess your current equipment, confirm the requirements of your business partners, and test the new format under real operating conditions. For barcode technology and identification solutions, explore Pointus Solutions. Visit Shop Barcode to review relevant barcode products, and browse Printing Products to find equipment and supplies that support your
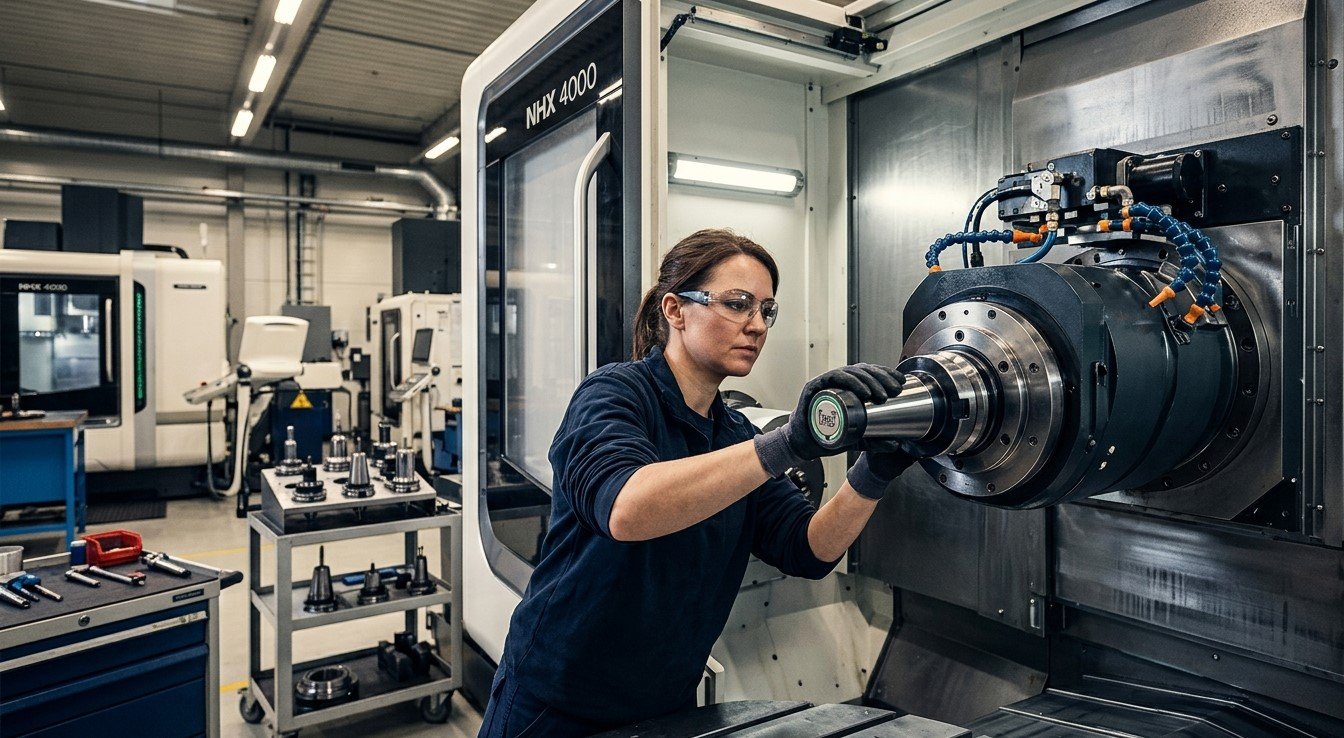
How Can CNC Toolholder Identification Systems Reduce Setup Errors?
CNC machining requires accurate tool selection, correct tool offsets, and consistent setup procedures to achieve reliable production results. Even a small mistake, such as loading the wrong toolholder or entering an incorrect tool length, can lead to dimensional errors, damaged components, broken cutting tools, or costly machine downtime. CNC toolholder identification systems help reduce these risks by identifying tools and connecting them with the correct machining data. Depending on the system, identification may use barcodes, QR codes, RFID tags, or integrated tool management software. For manufacturers seeking reliable tooling solutions, Khokhawala Trading LLC, an Industrial Tools Supplier in Dubai, recognizes the importance of accurate tool identification and efficient CNC setup practices. This article explains how CNC toolholder identification systems work, how they reduce setup errors, their main benefits, and how businesses can choose an appropriate solution for their machining operations. Table of Contents What Is a CNC Toolholder Identification System? How Do Toolholder Identification Systems Work? Common Types of Toolholder Identification Systems How Do These Systems Reduce Setup Errors? Benefits of CNC Toolholder Identification Common Setup Errors These Systems Help Prevent How to Choose the Right Identification System Best Practices for Accurate CNC Tool Management Frequently Asked Questions Conclusion and Call to Action 1. What Is a CNC Toolholder Identification System? A CNC toolholder identification system is a method of assigning a unique identity to a toolholder so that operators and machine controls can identify the correct tool and access its associated information. Depending on the setup, this information may include: Tool identification number. Cutting tool type and dimensions. Tool length and diameter measurements. Tool offset information. Toolholder specifications. Tool life and usage history. Storage or magazine location. Inspection and maintenance records. In a traditional workshop, operators may rely on labels, printed setup sheets, handwritten notes, or manual data entry. These methods can work, but they are vulnerable to human error. An identification system creates a more consistent process. When integrated with suitable CNC controls and tool management software, it can verify tool identity and transfer or retrieve the correct data automatically. 2. How Do Toolholder Identification Systems Work? The exact process depends on the technology being used, but most systems follow a similar workflow. Step 1: Assign a Unique Tool Identity Each toolholder receives a unique identification code, barcode, or electronic tag. This identity connects the physical toolholder with its record in the tool management system. Step 2: Measure the Tool The cutting tool assembly may be measured using a tool presetter. Measurements can include tool length, diameter, and other relevant geometry information. Step 3: Store the Tool Data The measurements and tool details are stored in a database, linked to a barcode, or written to a compatible RFID tag. Step 4: Identify the Tool Before Loading When the toolholder is prepared for a CNC machine, an operator scans its barcode or reads its RFID tag. The system checks the tool’s identity against the required setup information. Step 5: Verify or Transfer Tool Data Depending on the system’s capabilities, the software may display the tool information, warn the operator about a mismatch, or automatically transfer verified data to the CNC control. Step 6: Confirm Setup Readiness The operator confirms that the correct tool is installed in the intended location and that the required offsets and machining parameters are available before production begins. Important: Basic identification labels do not automatically prevent errors. The greatest benefit comes when identification is connected to a controlled verification process or compatible CNC tool management system. 3. Common Types of Toolholder Identification Systems Several technologies are used to identify CNC tools and manage their data. A. Barcode Identification Barcodes provide a simple way to assign unique identities to toolholders. Operators scan the code using a compatible reader to retrieve the tool’s information. Advantages: Relatively simple to implement. Easy to print and replace. Suitable for small and medium-sized tool inventories. Can link tools to digital setup records. Limitations: Requires a readable code and suitable scanning equipment. Labels may become damaged or contaminated. Data transfer and verification depend on software integration. B. QR Code Identification QR codes can store more information than many traditional one-dimensional barcodes and can be scanned using compatible optical readers. They are useful for linking toolholders to digital records containing specifications, preset measurements, inspection history, and maintenance information. However, the QR code itself does not guarantee that the stored information is correct. Data must be maintained and verified. C. RFID Identification Radio-frequency identification uses an electronic tag and a compatible reader to identify a toolholder. Depending on the design, RFID tags may be embedded in or attached to suitable toolholders. Some systems support read-only identification, while others can store and update tool data. Advantages: Can reduce the need for manual scanning and data entry. Supports automated identification in compatible workflows. Can help track tool usage and location. May support automatic transfer of tool measurements and tool life data. RFID requires compatible tags, readers, and software. Installation must also suit the toolholder design and operating conditions. D. CNC Tool Management Software Tool management software maintains records of tool identities, dimensions, offsets, locations, and usage. It can connect identification systems with tool presetters and CNC controls. When properly configured, it can verify that the correct tool is assigned to the correct operation and help prevent incorrect data from being used during machining. 4. How Do These Systems Reduce Setup Errors? Toolholder identification systems reduce errors by making tool information easier to verify and harder to mix up. A. Preventing Incorrect Tool Selection CNC programs require specific tools for drilling, milling, boring, and other operations. If an operator loads the wrong toolholder, the machine may perform the operation with an unsuitable tool. An identification system can compare the scanned tool identity with the required tool record. Integrated systems can flag a mismatch before machining begins. B. Reducing Manual Data Entry Errors Entering tool length and diameter offsets manually can introduce typing mistakes, transposed digits, or incorrect values. When a compatible system transfers verified preset measurements

Why Doesn’t My IPTV Box Show My 5 GHz Wi-Fi Network?
You can see your 5 GHz network on your phone, but your streaming box only lists the 2.4 GHz one, or doesn’t list your network at all. This is common, and the cause is usually one of a few simple things: the box can’t use 5 GHz, the router is hiding or restricting that band, or a channel or security setting is incompatible. In this guide, we’ll show you how to find out which, and how to fix it for IPTV India on your Indian IPTV Box. Table of Contents Why 5 GHz Matters for Streaming Cause 1: Your Box Doesn’t Support 5 GHz Cause 2: A Combined Network Name Cause 3: The 5 GHz Band Is Off or Hidden Cause 4: Channel and DFS Issues Cause 5: Wi-Fi Mode, Width, or Security Settings Cause 6: Range and Signal Step-by-Step Fixes If 5 GHz Still Won’t Work FAQs Why 5 GHz Matters for Streaming Wi-Fi uses two main bands. The 2.4 GHz band reaches farther and passes through walls better, but it’s slower and crowded with interference from neighbors, microwaves, and Bluetooth devices. The 5 GHz band is typically faster and less congested, but its range is shorter. For live IPTV, 5 GHz can mean steadier streaming, especially in apartments and busy households. But it’s not essential. Many boxes stream HD fine on a good 2.4 GHz connection, and Ethernet beats both. Cause 1: Your Box Doesn’t Support 5 GHz Some budget or older streaming boxes only have a 2.4 GHz Wi-Fi chip. If so, your box will never show a 5 GHz network, no matter what you change on the router. To check, look at the box’s specifications, manual, or the seller’s page for terms like “dual-band,” “5 GHz,” or “802.11ac.” If it only lists 802.11b/g/n and 2.4 GHz, that’s your answer. Your options are using 2.4 GHz, connecting by Ethernet, or upgrading the box. Cause 2: A Combined Network Name Many routers broadcast both bands under one name, using a feature often called band steering or smart connect. Your phone and box then see a single network and the router decides which band to assign. That means the box may be connected to 5 GHz already, with no separate 5 GHz name to find. If you want to choose the band yourself, look in your router settings for an option to separate the bands, then give them different names, such as “Home” and “Home-5G.” Some routers don’t allow separating them, so check your model’s options. Cause 3: The 5 GHz Band Is Off or Hidden Check the router’s admin page or app: The 5 GHz radio might be disabled, sometimes by accident or after a reset The network might be hidden, with the name not broadcast. If so, you’d need to add it manually by typing the exact name and security details A schedule or guest setting might be limiting it A mesh system might handle bands differently, or place 5 GHz only on certain nodes Confirm that your phone can see and connect to the 5 GHz network. If other devices can’t see it either, the router side is the problem. Cause 4: Channel and DFS Issues This is a common cause when your phone sees 5 GHz but your box doesn’t. The 5 GHz band has many channels, and some are DFS channels, which must yield to weather and military radar. In the US, these are generally channels 52 to 144, while channels 36 to 48 and 149 to 165 are non-DFS. Channel availability varies by country and router, so check what yours offers. Some streaming boxes don’t support DFS channels at all, and others scan them slowly. If your router is set to Auto and picked a DFS channel, the box may not see the network, or it may disappear when the router switches channels after detecting radar. Fixing it: set the router’s 5 GHz channel manually to a non-DFS channel, such as 36, 40, 44, 48, or one of the 149 to 165 range, depending on your region. Cause 5: Wi-Fi Mode, Width, or Security Settings Settings that are too new or too strict can lock out older devices: Wi-Fi mode: If the router’s 5 GHz band is set to a mode like “Wi-Fi 6 only” or “ax only,” older boxes won’t connect. Use a mixed mode that includes older standards Channel width: Very wide channels, such as 160 MHz, aren’t supported by many streaming boxes. Try 80 MHz or 40 MHz Security: If the network uses WPA3 only, devices without WPA3 support can’t join. Use WPA2/WPA3 mixed mode or WPA2 (AES) for compatibility Legacy settings: Avoid outdated options like WEP or TKIP, which can cause problems Region or country setting: If the box’s Wi-Fi region setting differs from your router’s, the box may not scan the channels your router uses. Check both Cause 6: Range and Signal 5 GHz has shorter range. If your box is far from the router or behind thick walls, the 5 GHz signal may be too weak to appear in the list, even though 2.4 GHz still shows. Try moving the box or router closer as a test. If 5 GHz appears at close range, you’ve found the limit. Step-by-Step Fixes Check your box’s specifications to confirm it supports 5 GHz Restart your router and your box Confirm your phone sees the 5 GHz network, standing near the router Check that 5 GHz is on in the router settings, and not hidden Separate the bands with different names, if your router allows Set the 5 GHz channel manually to a non-DFS channel Lower the channel width to 80 MHz or 40 MHz Use a mixed Wi-Fi mode and WPA2/WPA3 mixed or WPA2 security Check the country or region setting on both the router and the box Move the box closer for a test Update the firmware on your router and your box Rescan for networks, or forget and re-add the network on the box Add a hidden